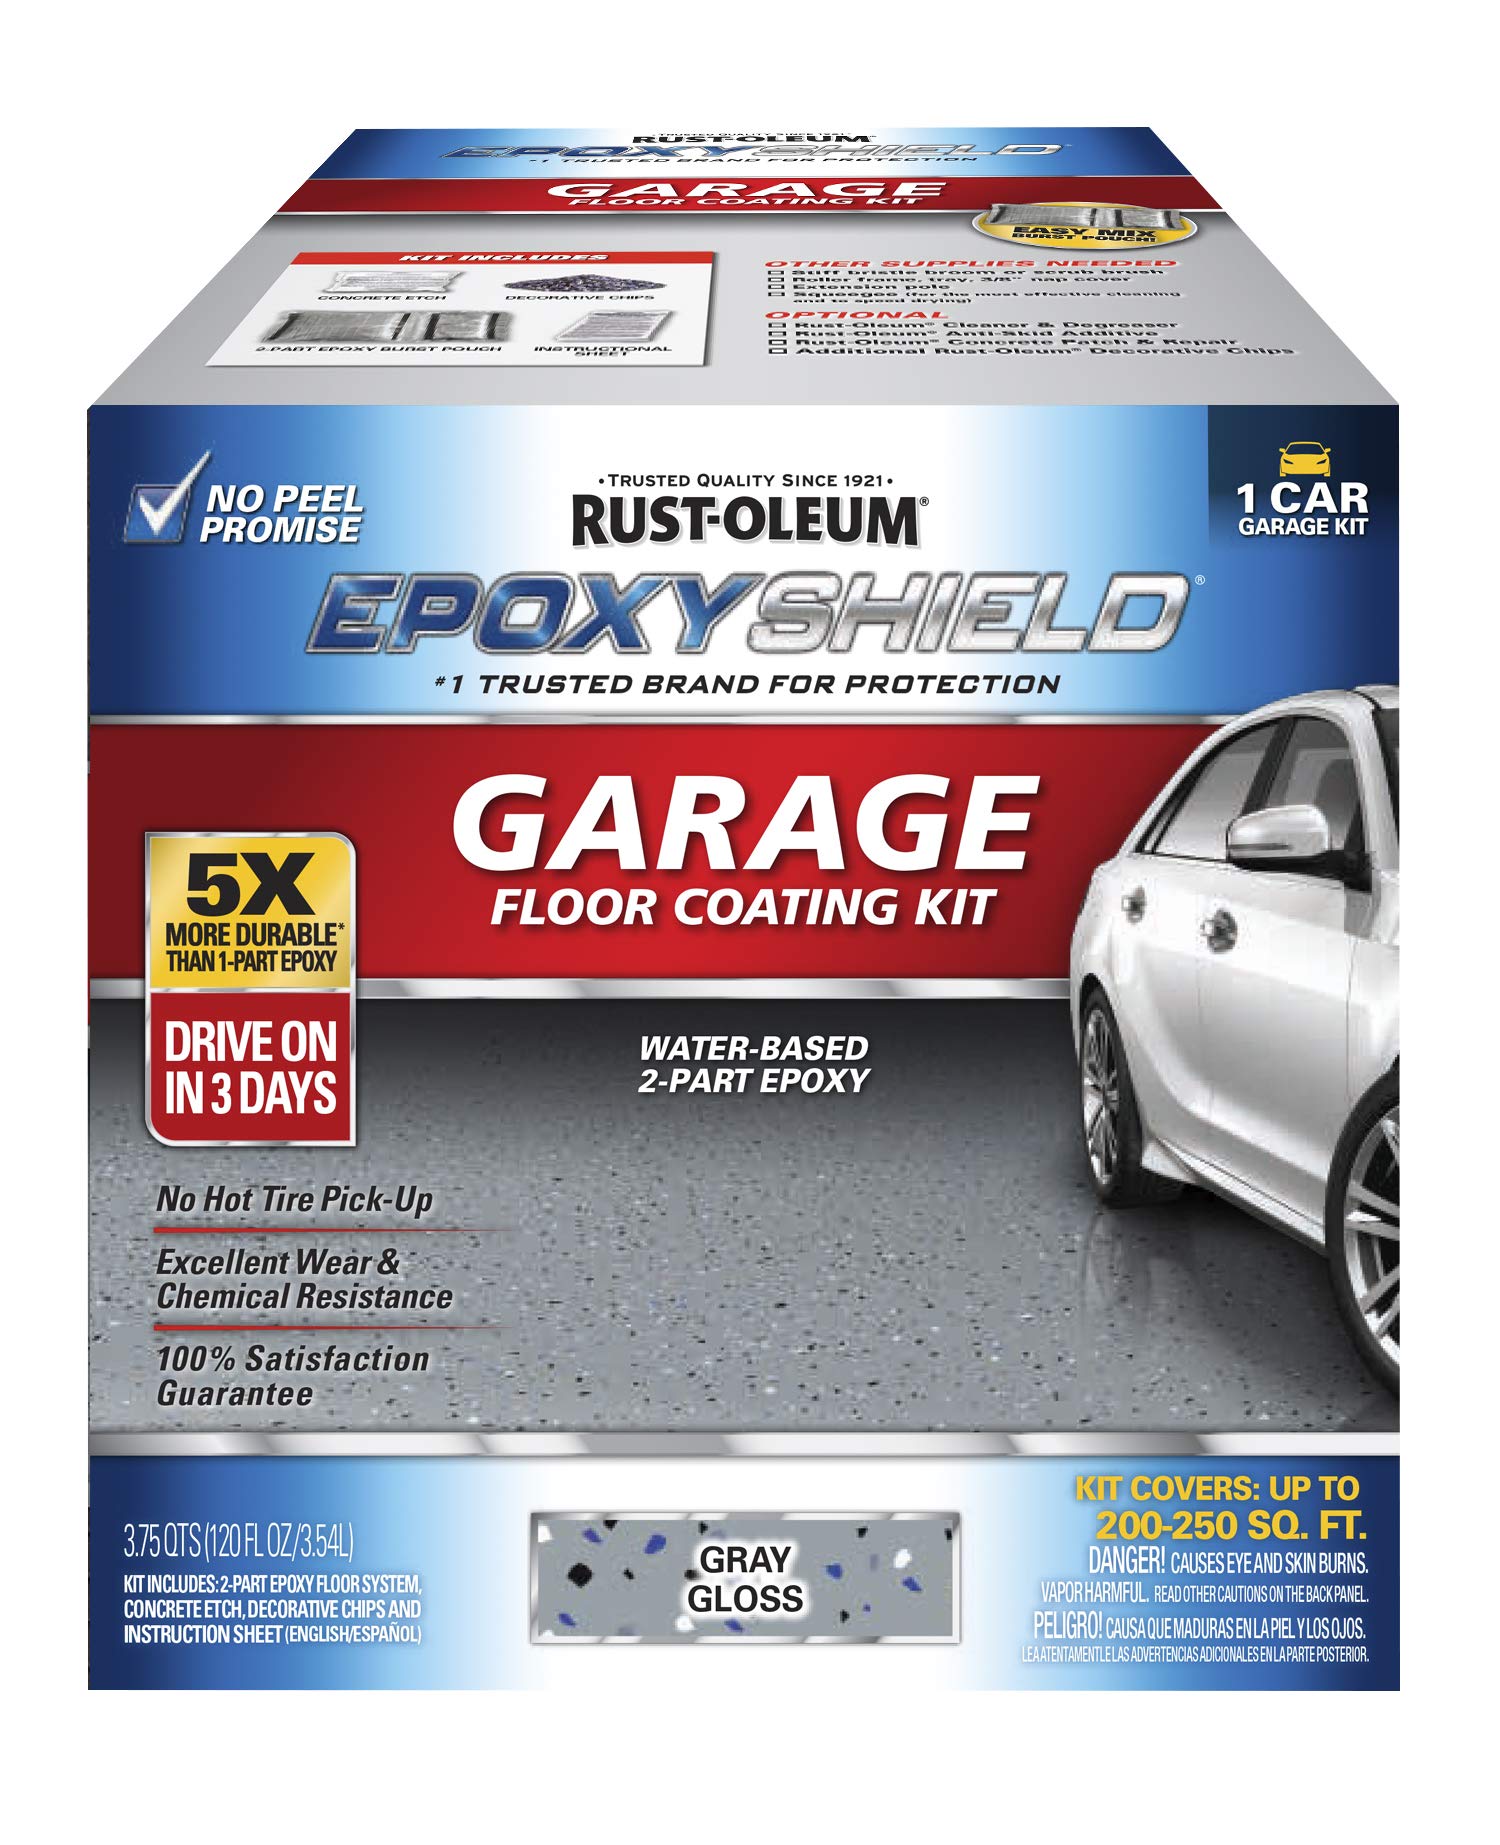


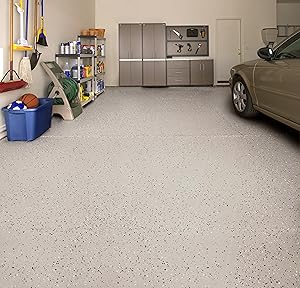
Rust-Oleum 251965 EPOXYSHIELD Garage Floor Coating Kit, 1 Car, Gloss Gray
Details
- BrandRust-Oleum
- ColorGray
- Finish TypeHigh-Gloss
- Size1 Car
- Item Volume1 Gallons
- Special FeatureLow Odor

Description
🛠️ Transform your garage into a sleek, durable masterpiece before your next drive!
- CHEMICAL SHIELD - Resists gasoline, motor oil, antifreeze, and salt for ultimate defense
- FAST TRACK FINISH - Walk-on ready in just 24 hours, drive-on in 3 days—no downtime
- UNMATCHED DURABILITY - 5X harder formula for long-lasting garage floor protection
- LOW ODOR HIGH COMFORT - Enjoy a low-VOC, low-odor application that’s safe and user-friendly
- SHOWROOM QUALITY GLOSS - Professional high-gloss finish that’s easy to clean and impresses every guest
Rust-Oleum EPOXYSHIELD Garage Floor Coating Kit delivers a professional-grade, 2-part epoxy formula that’s 5 times harder than typical epoxy paints. Designed for indoor concrete floors, it cures to a high-gloss, chemical-resistant finish in just 24 hours, providing showroom shine and superior protection against wear, stains, and hot tire pickup—all with low odor and easy cleanup.


Specifications
| Brand | Rust-Oleum |
| Color | Gray |
| Finish Type | High-Gloss |
| Size | 1 Car |
| Item Volume | 1 Gallons |
| Special Feature | Low Odor |
| Unit Count | 120.0 Fluid Ounces |
| Paint Type | Oil |
| Specific Uses For Product | Interior |
| Surface Recommendation | Floor |
| Indoor/Outdoor Usage | Indoor |
| Item Form | Liquid |
| Age Range (Description) | Adult |
| Model Name | EPOXYSHIELD |
| Package Information | Can |
| Full Cure Time | 24 Hours |
| UPC | 020066192891 |
| Global Trade Identification Number | 00020066192891 |
| Manufacturer | Rust-Oleum |
| Part Number | 251965 |
| Item Weight | 4.41 pounds |
| Product Dimensions | 17 x 7 x 9 inches |
| Item model number | 251965 |
| Is Discontinued By Manufacturer | No |
| Style | Coating |
| Finish | High-Gloss |
| Material | Epoxy |
| Pattern | Epoxy Coating Kit |
| Item Package Quantity | 1 |
| Special Features | Low Odor |
| Batteries Included? | No |
| Batteries Required? | No |
| Warranty Description | Satisfaction Guaranteed |
Have a Question? See What Others Asked
Reviews
M**W
There were places that were just a little bit darker than other places
I did a four car garage. Walls were masked off with plastic and painters tape. The cement slab was poured 90 days beforehand, prepared with a diamond bit buffing wheel, etched with the solution the kit came with and finally power washed and mopped so clean you could eat off it. We put on the spiked slippers after that so the floor was “Sterile”. This was done at night due to a perfect 70 degrees and low humidity. I took a bucket and mixed all part A together, another separate bucket and put all part B together and all speckles together in the last bucket. Mixed each bucket separately so that everything was one color. Bucket A and bucket B were weighed and 1/4 amounts were poured into an application bucket for mixing and applying. A drill and paddle were used to mix slowly, as to not have any bubbles. I also purchased the same amount of sprinkles as what the kit came with, so there were double amount. So before I started my first section, I had 1/4 of all the ingredients mixed and ready to go. At first, the rollers were used that came with the kit, but they fell apart. Switched to Regular rollers. Started at the furthest corner of the garage. Mentally tried to divided the amount that was in the bucket so I could keep track of how much I was putting on the floor. Don’t want to come up short. Also, use a cheap foam brush to get close to the edge. A 5 gallon bucket is a perfect sized to dip the roller into. A paint pan would be fine also. When I got about 4 x 4 feet of epoxy on the cement, i quickly went over it again in a cris-cross fashion and then threw the sprinkles in little amounts at the ceiling so they would disperse when they hit the floor. I tried to do 3 feet by 3 feet with sprinkles so that my next section could over lap my paint strokes and blend in each section and try to have all one color. I was afraid of seeing lines of starting and stopping. At the end of one section I had zero material left, the paint roller brush and bucket were tossed and new ones were used. There were a few areas that I went over again, due to different color shades. I just went over the sprickles with the epoxy and resprinkled it. No matter how hard I tried, when it was all done, there were several areas that were different shades and don’t think it can be avoided, however that is where more sprinkles come to the rescue. Next time it will be triple sprinkles.
D**L
Goes on easy, no mess packaging
Nice product. I applied it to a fresh, cured, untrodden slab that I went after with a 7” diamond disc and then pressure washed. I didn’t use the etchant. Figured I’d have no adhesion issues with the pre work I did and the fact that this was a clean new slab. I used the flecks, but not all of them. I think I will be happy.
A**R
Good quality
Good quality
C**
Doesn’t dry in some weather conditions
Positive that I received a bad, old batch! Listen! Do not use this product if you are experiencing Humid weather! It does not dry, and may also be the reason for some of these reviews stating it peels in a year. The answers you will hear immediately from Rust. Customer Service is, “You need to take it off and start over,” and “We recommend this being done within 5 days of putting the initial step on.” We are currently experiencing humid weather, and the CS person has been prepared to give this answer when a customer is saying it isn’t drying. This is Rust-O-Leum’s and AmericanMart’s fault on this product! Buy a clear gloss product that comes in a can, not a stupid pouch!
A**R
Say BAM when throwing the color flakes!
Good product used a couple times now. It's all in the prep (most time consuming) for this product. Ideally you have a pressure washer and some arm grease for cleaning and etching the floor. Goes on easy and looks great. Make sure your epoxy bag isn't shipped to you with one side of the pouch hard. This means it's already gone off and you will need a refund and reorder. Take your time and enjoy the ride. To really make the floor professional, add the Rust-Oleum clear epoxy topcoat and use the anti slip packet (separate purchases). This makes it way stronger, no slip, and gives it that showroom Sheen. It also helps when you throw the color flakes to say BAM in an Emeril voiceover. Have fun...
D**E
Better Than Expected
After applying two coats of Rust-oleum (Gunmetal Gray) EpoxyShield with flakes to my 800 sq ft garage floor, I elected to add this Rust-oleum clear coat. Upon applying the gray coatings, I found that the materials went farther than what was printed on the box (i.e., 450 - 500 sq ft), so I elected to purchase just one box of the clearcoat -- and hoped I could cover the entire 800 sq ft with one application. It worked! I was able to completely coat the entire 800 sq ft without an issue. I did this in just one hour.Here's what I learned along the way:-- Break the bag as instructed for the two parts to mix well. This interesting mix procedure worked well.-- I then poured the contents into a container to further mix, and I poured half into a roller tray to do the first half of the floor (to see if half would do half). I also added the anti-skid material that was provided.-- I found that a thin amount spread far (thicker isn't necessarily better).-- I didn't bother to 'cut in' the edges with a brush, as this is a clear coat. Rolling the edges went fast.-- I then completed the first half, and followed up with the second half with ease.-- Once the entire floor was covered, I took the wet roller and rolled every square inch again to ensure I didn't miss any dry spots. The overhead lights helped reflect wet versus dry as I rolled.-- I used the spiked shoe attachments (purchased separately). BE CAREFUL these spiked platforms can slip on the wet surface. There's a learning curve -- I found it best not to shift your weight to stretch. Falling is one thing; falling into epoxy is another!-- About 28 hours after the application, it was still marginally tacky. So I've elected to wait another day to walk, and four days to drive.Last tip for those of you who haven't epoxied before ... I suggest you use two coats of colored epoxy. Wait until the second coat completely covers the floor before applying chips. Don't ever throw chips -- put a very small amount in the cup of your hand and spread it like shaking grass seed. Cover the entire floor with a very mall amount and repeat until you have a nicely-distributed look. Throwing = unintended clumps.
M**I
Floor paint
It's a great product. Easy to use and very durable.
Common Questions
Trustpilot
2 weeks ago
1 month ago
